So you enjoy traveling and have developed an interest in photography. Congratulations! Few pursuits are as emotionally and intellectually engaging. I’ve been doing this for many years, and during my travels, I’ve found waterfall photography to be incredibly inspiring, combining the awe of experiencing nature with the challenge of mastering the skills needed to capture these breathtaking sights. Let’s go on a journey around the world and pick up some photography tips along the way.
Getting Started-Gear Basics for Waterfall Photography
The first decision to make is which camera to choose. Today, many manufacturers are available. While Canon and Nikon dominated the DSLR market for years, SONY rose to the top with the growth of mirrorless cameras. However, the best camera for a waterfall photographer is one that can handle long exposures and has a high dynamic range. The ideal camera for beginners should have simple manual controls, interchangeable lenses, a large sensor, a strong autofocus system, built-in Wi-Fi or Bluetooth, good battery life, and a RAW shooting mode. Other notable mirrorless cameras include models from Fuji, Panasonic, and Lumix.

The Victoria Falls straddle Zambia and Zimbabwe along the Zambezi River in Africa, and are the tallest waterfalls in the world.
Choosing the best lenses for waterfall photography
Choosing the right lens is vital in waterfall photography. A wide-angle lens in the 16-35mm range is ideal for capturing the broad scope of landscapes and waterfalls. These come as Wide-Angle Zooms, which provide versatility, and Wide-Angle Primes, known for their sharpness. While both offer wide views, I prefer the Zoom for its convenience. Sometimes, a longer lens like 70-200mm can produce better results for creating unique compositions. Also, factors like inaccessibility or the distance to the waterfall may make a long lens more suitable. Telephoto lenses give interesting perspectives by compressing the scene and highlighting specific landscape features.
What are the best tripods for waterfall photography?
Having a tripod for waterfall photography is an essential piece of equipment. Once you recognize this, choosing the right tripod is crucial for handling the unpredictable elements typical of most waterfall settings. Considerations include stability, durability, and portability. The tripod must be sturdy enough to withstand slippery rocks and rushing water.
How to choose the right tripod
Many waterfalls are often difficult to access, requiring challenging hikes to reach them. Therefore, a tripod should be sturdy enough to support your camera but also compact and lightweight for easy transportation. A good option is a tripod made of carbon fiber, which resists rust and corrosion in moist environments. Sadly, high-quality tripods can be costly, but they should be viewed as an investment that will enhance your images and withstand tough environmental conditions.
A sturdy tripod allows you to use long exposures, which are essential to turn a wild torrent into a soft, dreamy curtain. Experiment with different shutter speeds to ensure every detail remains sharp and clear. This provides you with the creative freedom to produce various artistic effects, from gentle blurring to striking, milky water flows.
Filters are essential gear for waterfall photography
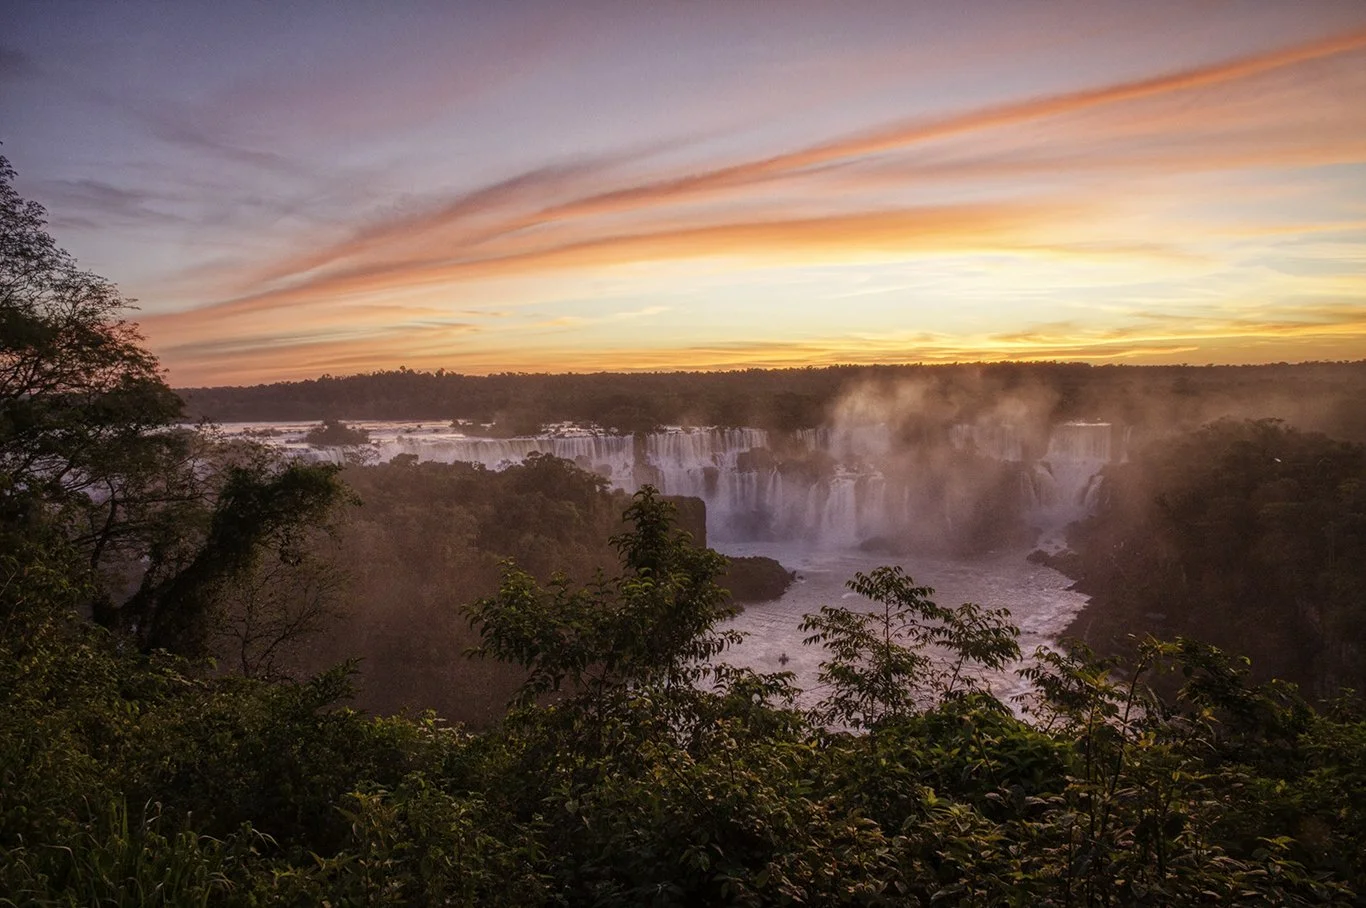
This image was captured of the Iguazu Falls on the Brazilian side at sunset.
ND Filters (Neutral Density Filters) are essential tools for waterfall photography. They reduce the amount of light entering the lens, enabling you to use slower shutter speeds even in bright daylight. This allows you to achieve long exposure effects without overexposing your image, creating smooth, flowing water and artistic motion blur effects. ND filters are classified by their optical density, which indicates how much light they block and is measured in stops. Common types include ND3, ND6, and ND10 filters, each permitting less light to pass through.
Circular polarizing filters are vital for managing reflections and enhancing the vibrancy of your scene. They selectively filter polarized light, significantly decreasing glare from water and wet surfaces. This improves the clarity and color of the water and surrounding vegetation. By increasing color saturation, these filters make greens and blues appear more vibrant, resulting in a more lively overall image. The circular polarizer can be rotated, providing adjustable polarization strength for greater flexibility and control over your shot.
A remote shutter release is important in waterfall photography.
To prevent camera shake when pressing the shutter button, a remote shutter release is an essential tool. It eliminates vibrations caused by pressing the shutter button, helping to capture sharp images free from blurriness due to hand movement. There are two useful options for releasing the shutter. The first is a remote control, like the Vello Free Wave Plus, which connects to the side of the camera. However, it can be tricky to use with an L-bracket, which attaches your camera to a tripod in both portrait and landscape modes. Therefore, I usually rely on the two-second timer on my camera. I trigger the shutter from my phone to avoid touching the camera, and for exposures longer than thirty seconds, I shoot in bulb mode, using the timer on my phone to monitor the exposure time.
What are the best camera settings for waterfall photography?
DSLR and mirrorless cameras are perfect for capturing waterfalls. By adjusting the shutter speed, aperture, and ISO settings, you can control how silky and smooth the falling water appears. These adjustments are easiest to manage in your camera’s manual mode. The first decision you need to make is the shutter speed. Using a slow shutter speed—ranging from 1/4 second to several seconds—can create a smooth, misty effect on the water. On the other hand, if you want to capture the power of the flowing water, a faster shutter speed of around 1/500 second or more might be better. Next, consider the aperture size. To achieve sharp focus throughout the scene when photographing waterfalls, you should choose a smaller aperture, which provides a larger depth of field. An aperture setting of f/8 to f/16 is recommended for this. Lastly, set the ISO, which controls your camera’s sensitivity to light. Keeping the ISO low, around 100 to 200, helps prevent noise in your images and keeps them clear and grain-free.
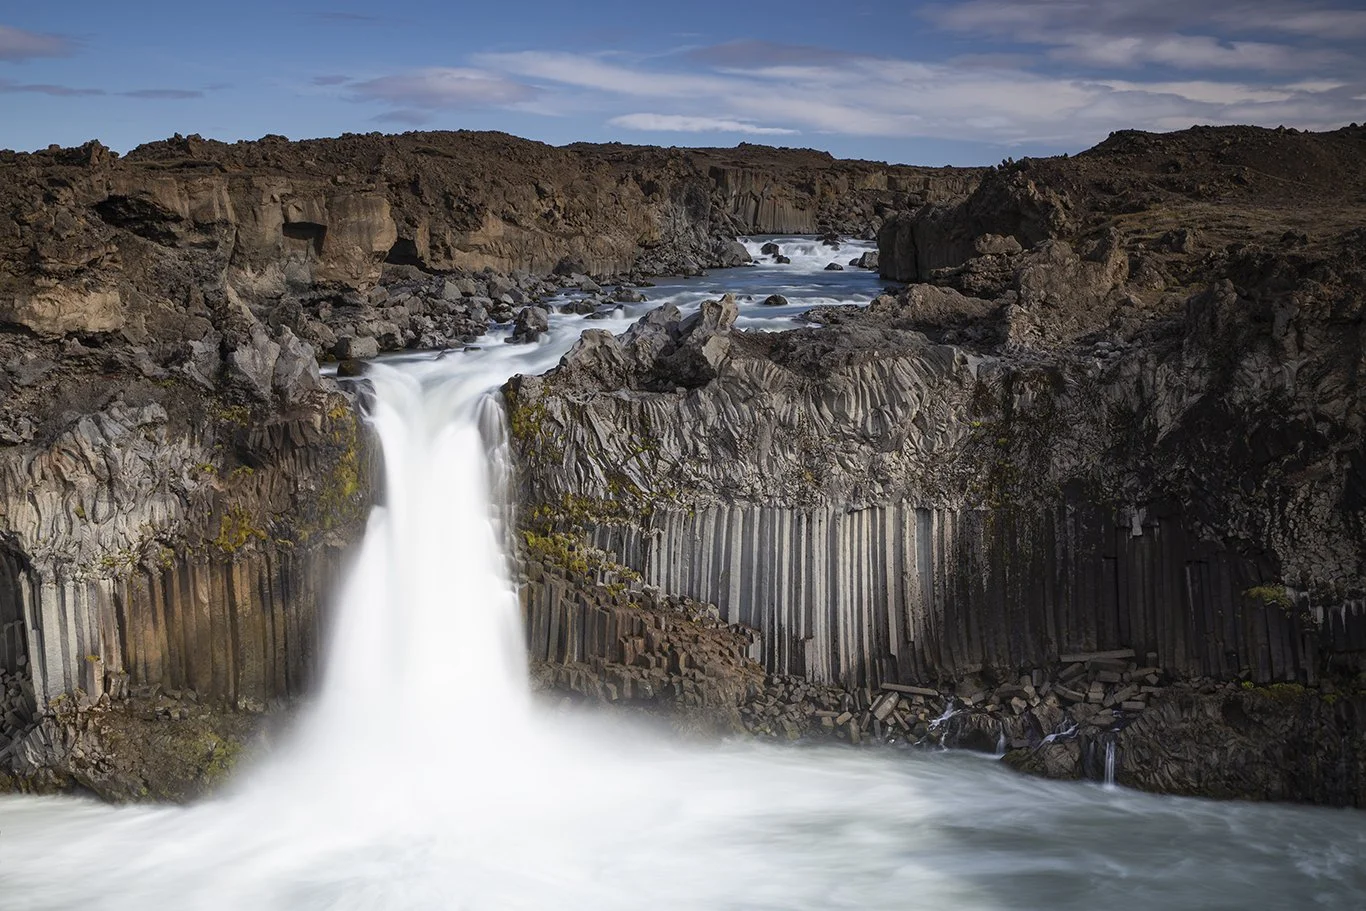
This shot was taken in Iceland of the Aldeyjarfoss Waterfall. By using a shutter speed of two seconds, the water appears ethereal and silky smooth.
What are the best lighting conditions for waterfall photography?
Like all types of photography, the lighting conditions you shoot in will significantly shape the appearance of your waterfall photos. Therefore, it’s important to plan carefully for the best times and techniques to capture your images. Overcast days help minimize harsh shadows and blown-out highlights. However, on cloudy days, soft, even lighting is perfect for highlighting the water’s texture and the surrounding landscape. On sunnier days, aim to shoot during the golden hour, which is typically the hour after sunrise or before sunset. The low-angle light gently highlights the scene, accentuating textures and creating attractive reflections. Usually, avoid shooting in direct midday sun, as it can cause harsh shadows and blown-out highlights. However, these conditions might be suitable for infrared photography.
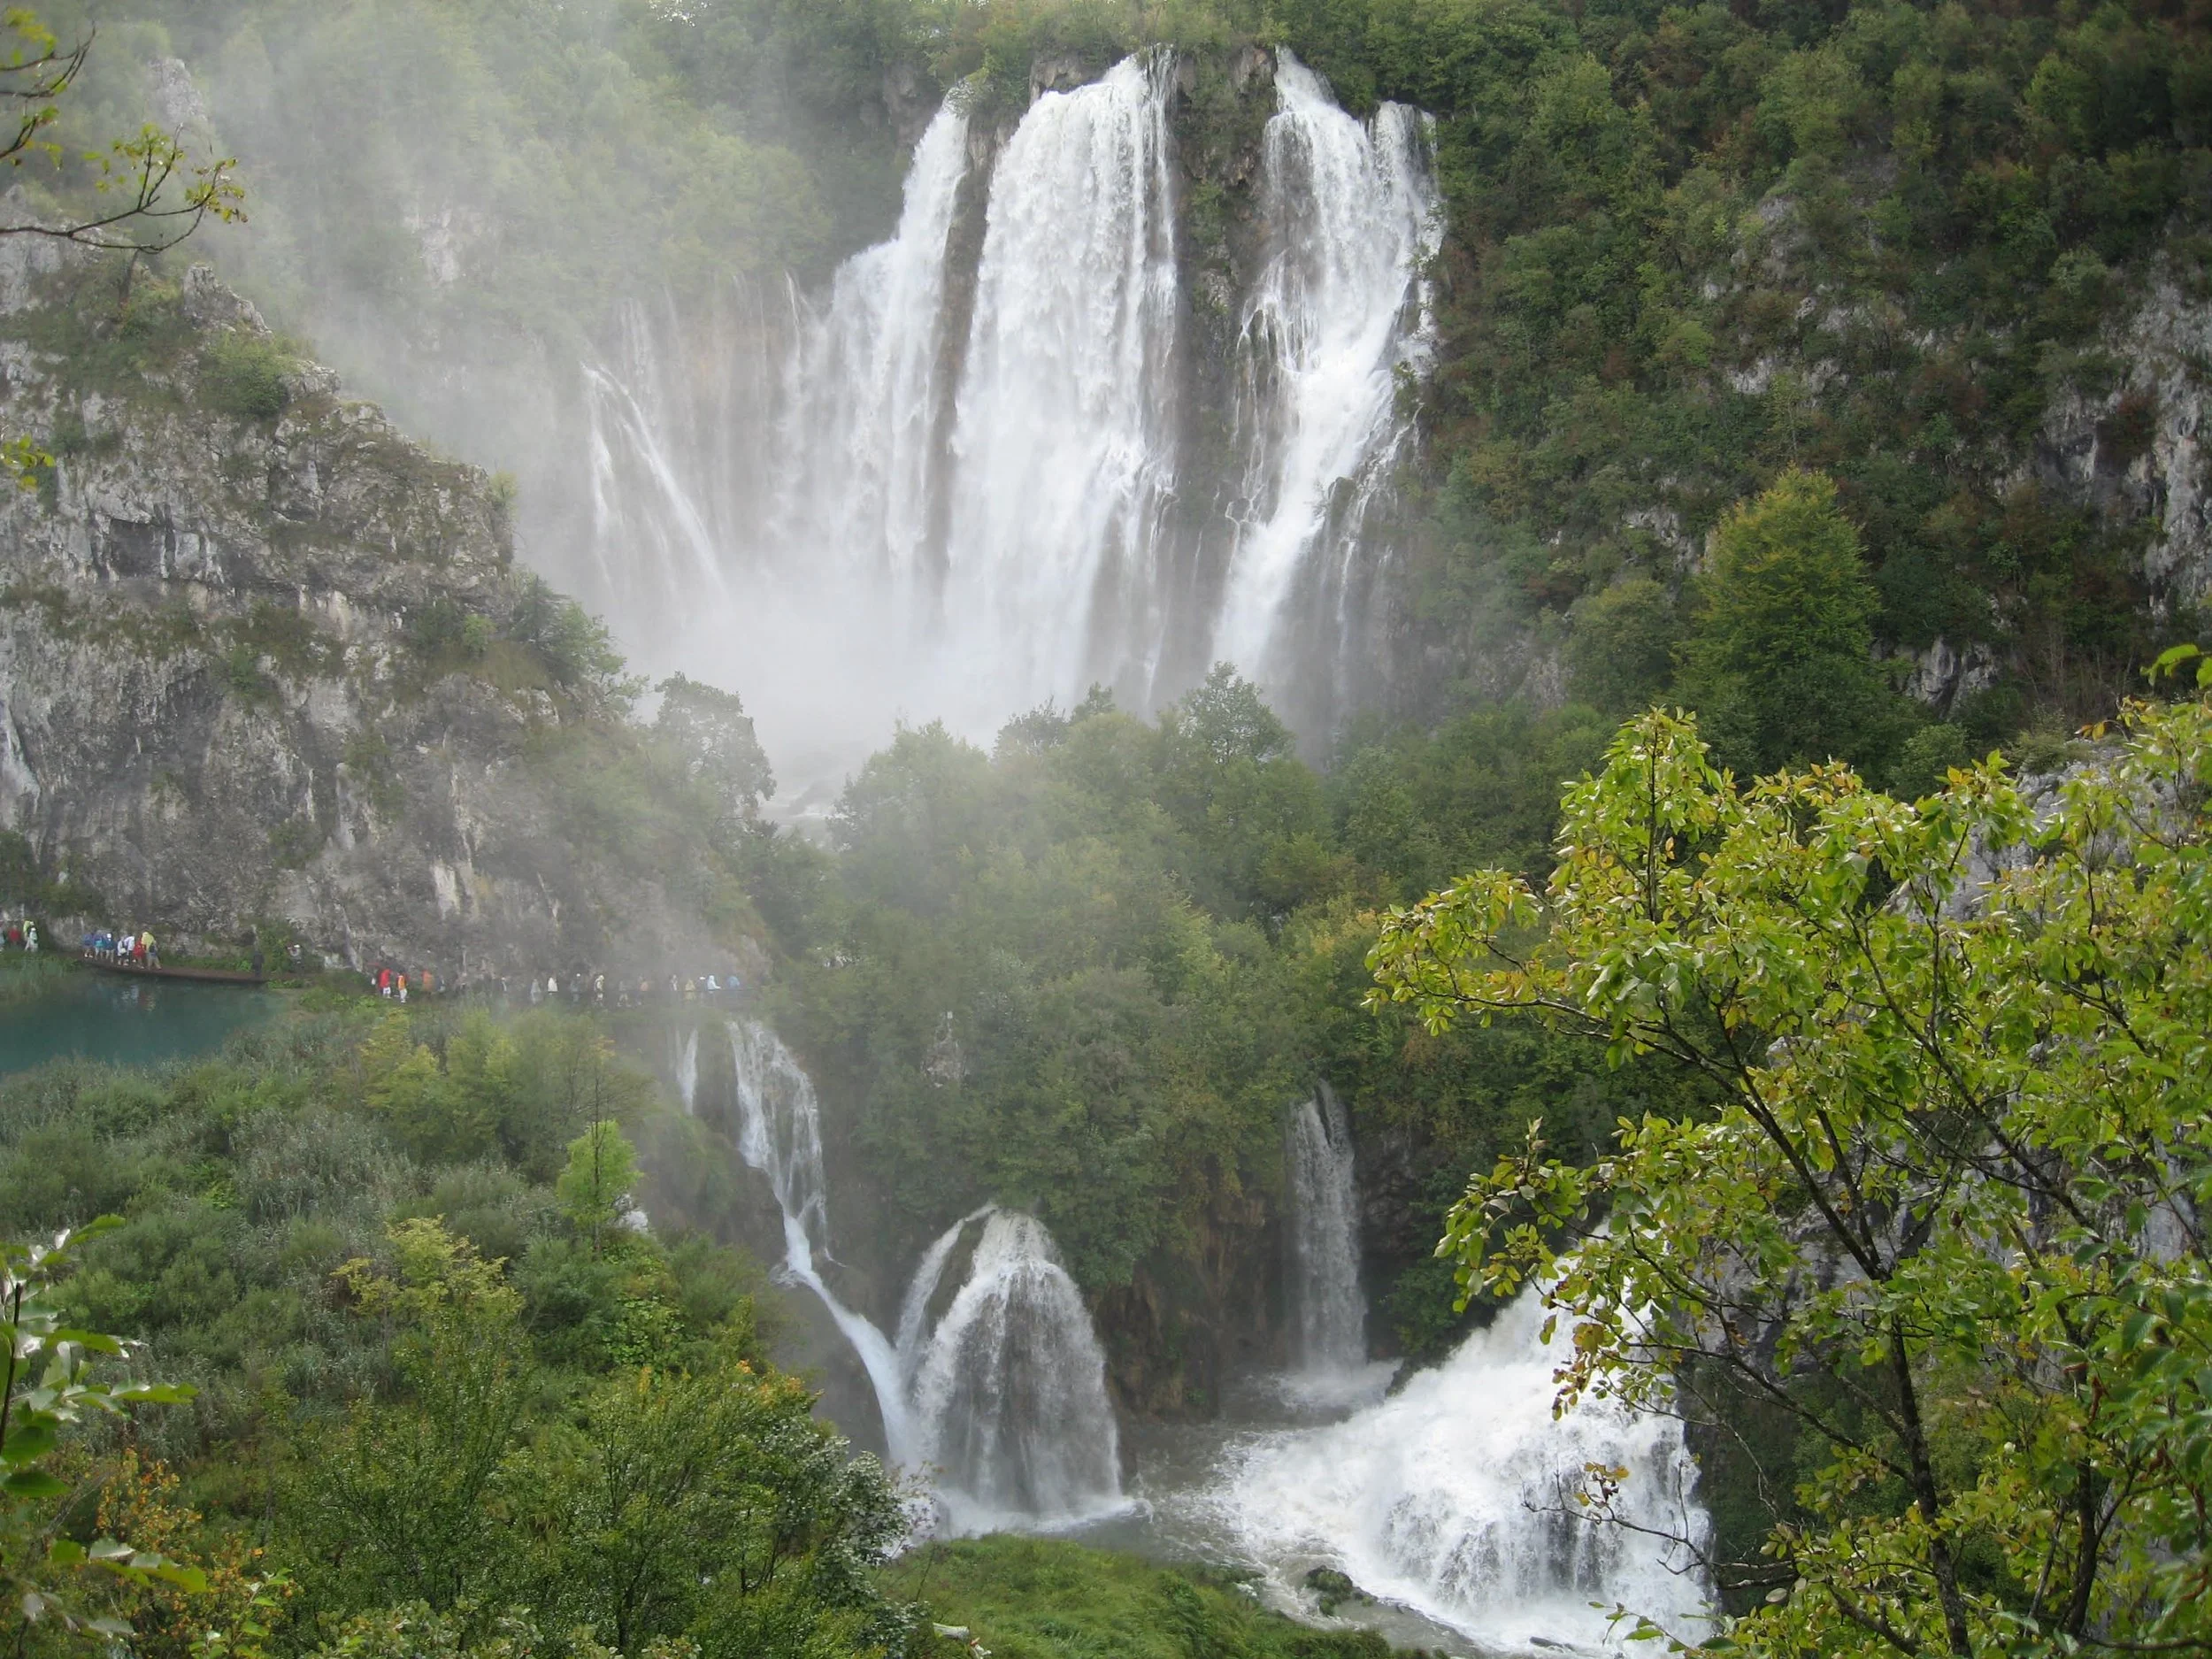
This is one of multiple waterfalls in Plitvice National Park in Croatia. The overcast sky made for soft, even lighting.
Compositional considerations in waterfall photography
Creating an aesthetically pleasing composition is the goal of every photographer. When you approach a waterfall, your first consideration should be achieving proper framing and balance. When arranging elements within the shot, there needs to be a clear focus on the waterfall. Work to combine foreground, midground, and background elements to add depth and interest to your photograph. You also want to make sure that a backdrop is chosen that enhances rather than detracts from the composition.
Work with the classic principle of the Rule of Thirds. By enabling the grid feature on your camera, it becomes easy to align and balance important elements within the frame. Look for unique angles. Sometimes, finding higher ground to shoot from can give you a sweeping view. Getting close to the water can often provide a dramatic angle. Also, incorporating elements such as rocks or foliage can help frame the shot. Changing your position can often produce a new, less common perspective.
Try to capture shots that are close to the water’s surface. Shooting low can create a sense of immersion, making the viewer feel part of the scene. Aim to capture reflections to create a symmetrical effect. Low angles can also emphasize motion and the waterfall’s power.
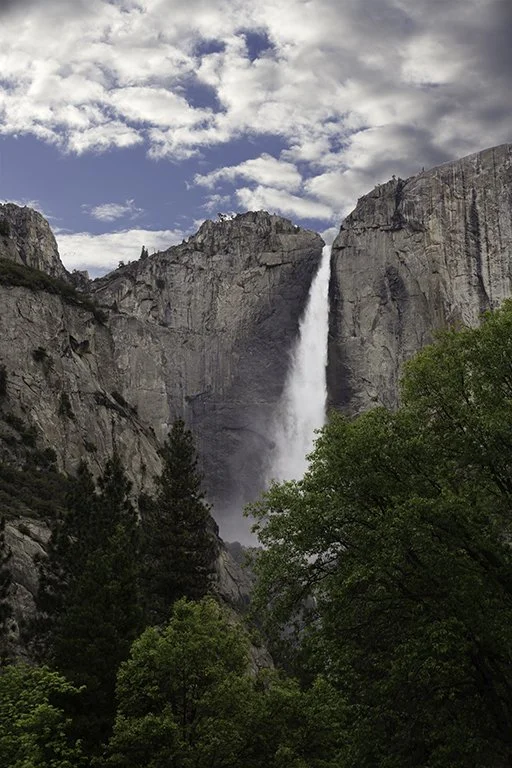
This photograph of Yosemite Waterfall was shot in the spring after a significant period of rainfall. The rule of thirds is operative here together with framing by rock and vegetation.
Miscellaneous Tips for Better Waterfall Photography
There are several techniques to make your waterfall photography more engaging for viewers. Including people or wildlife in your shots can provide scale, helping viewers appreciate the size and power of the waterfall. Taking panoramic shots can display the expansive landscape surrounding the waterfall.
Other factors to consider include the weather on the day of your shoot. It's useful to know if rain is predicted and what the lighting conditions might be. Even if it’s not raining, wearing waterproof boots and carrying a rain cover for your camera bag can be helpful. Additionally, having a fiber cloth to wipe your lens if it gets wet from rain or waterfall spray is essential.
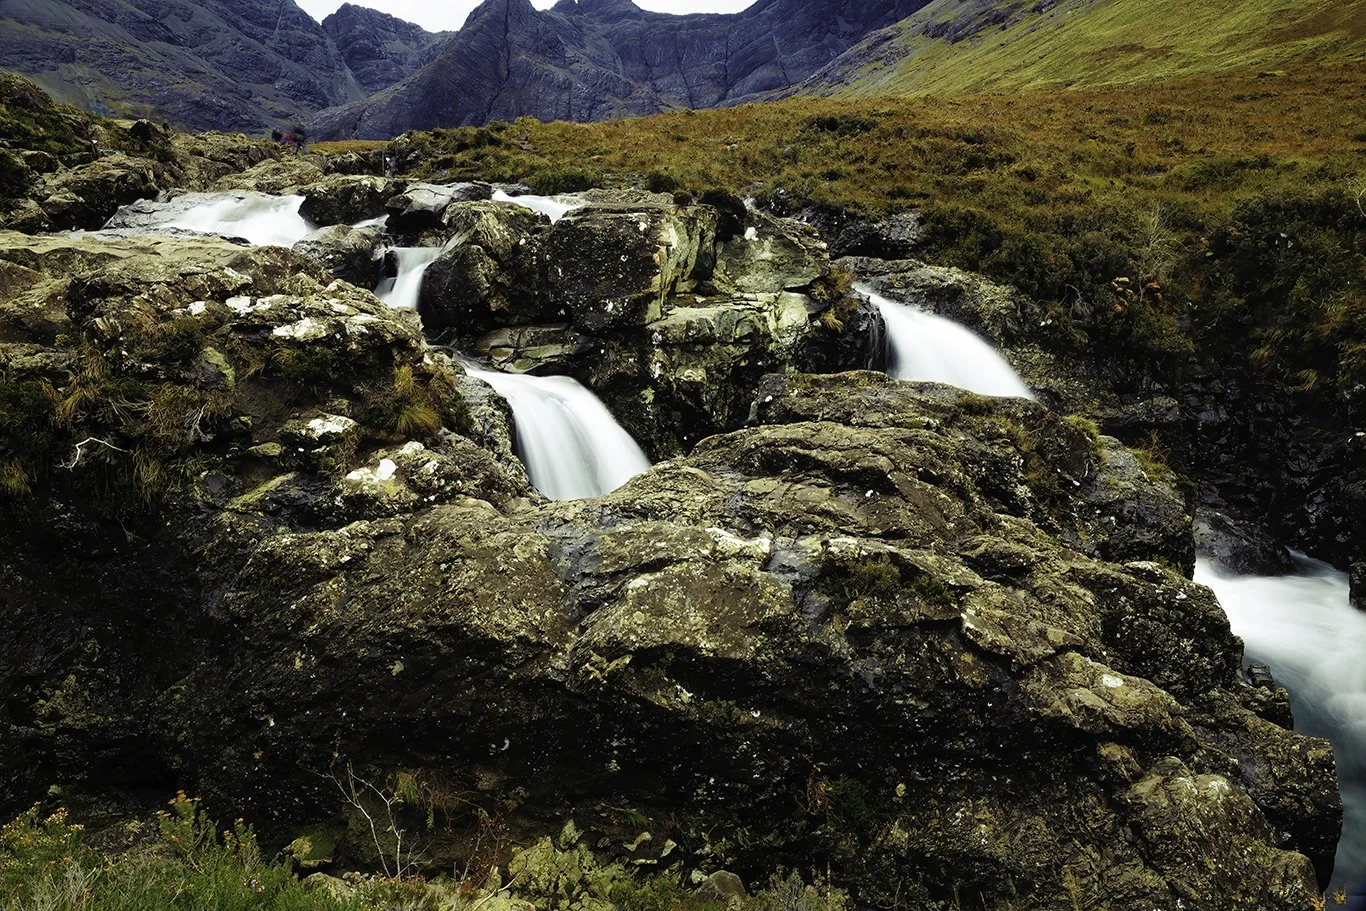
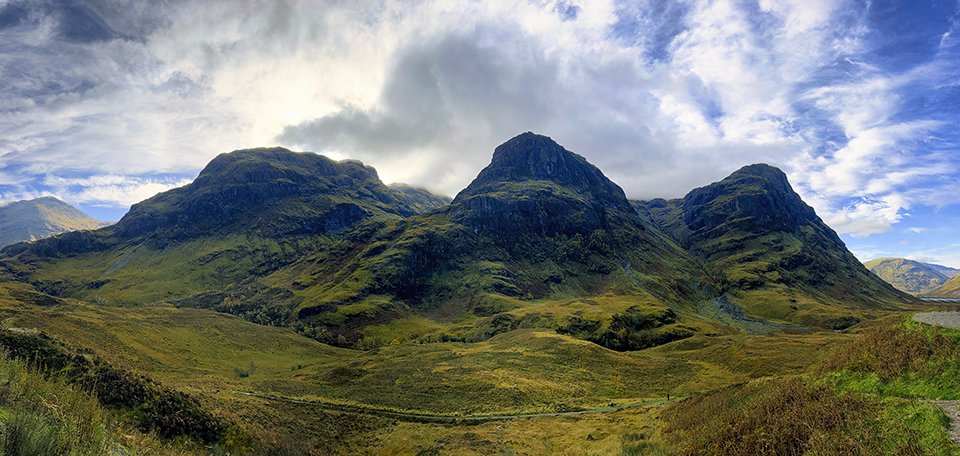
The Fairy Pools on the Isle of Skye in the Scottish Highlands
The Wrap up
Few experiences in my time as a travel photographer have been as enjoyable as waterfall photography. Being surrounded by unspoiled natural beauty is truly inspiring and a complete joy. Beyond appreciating the aesthetic elegance of these natural structures, learning to master the photographic skills needed to bring your vision to life is a journey I highly recommend.